
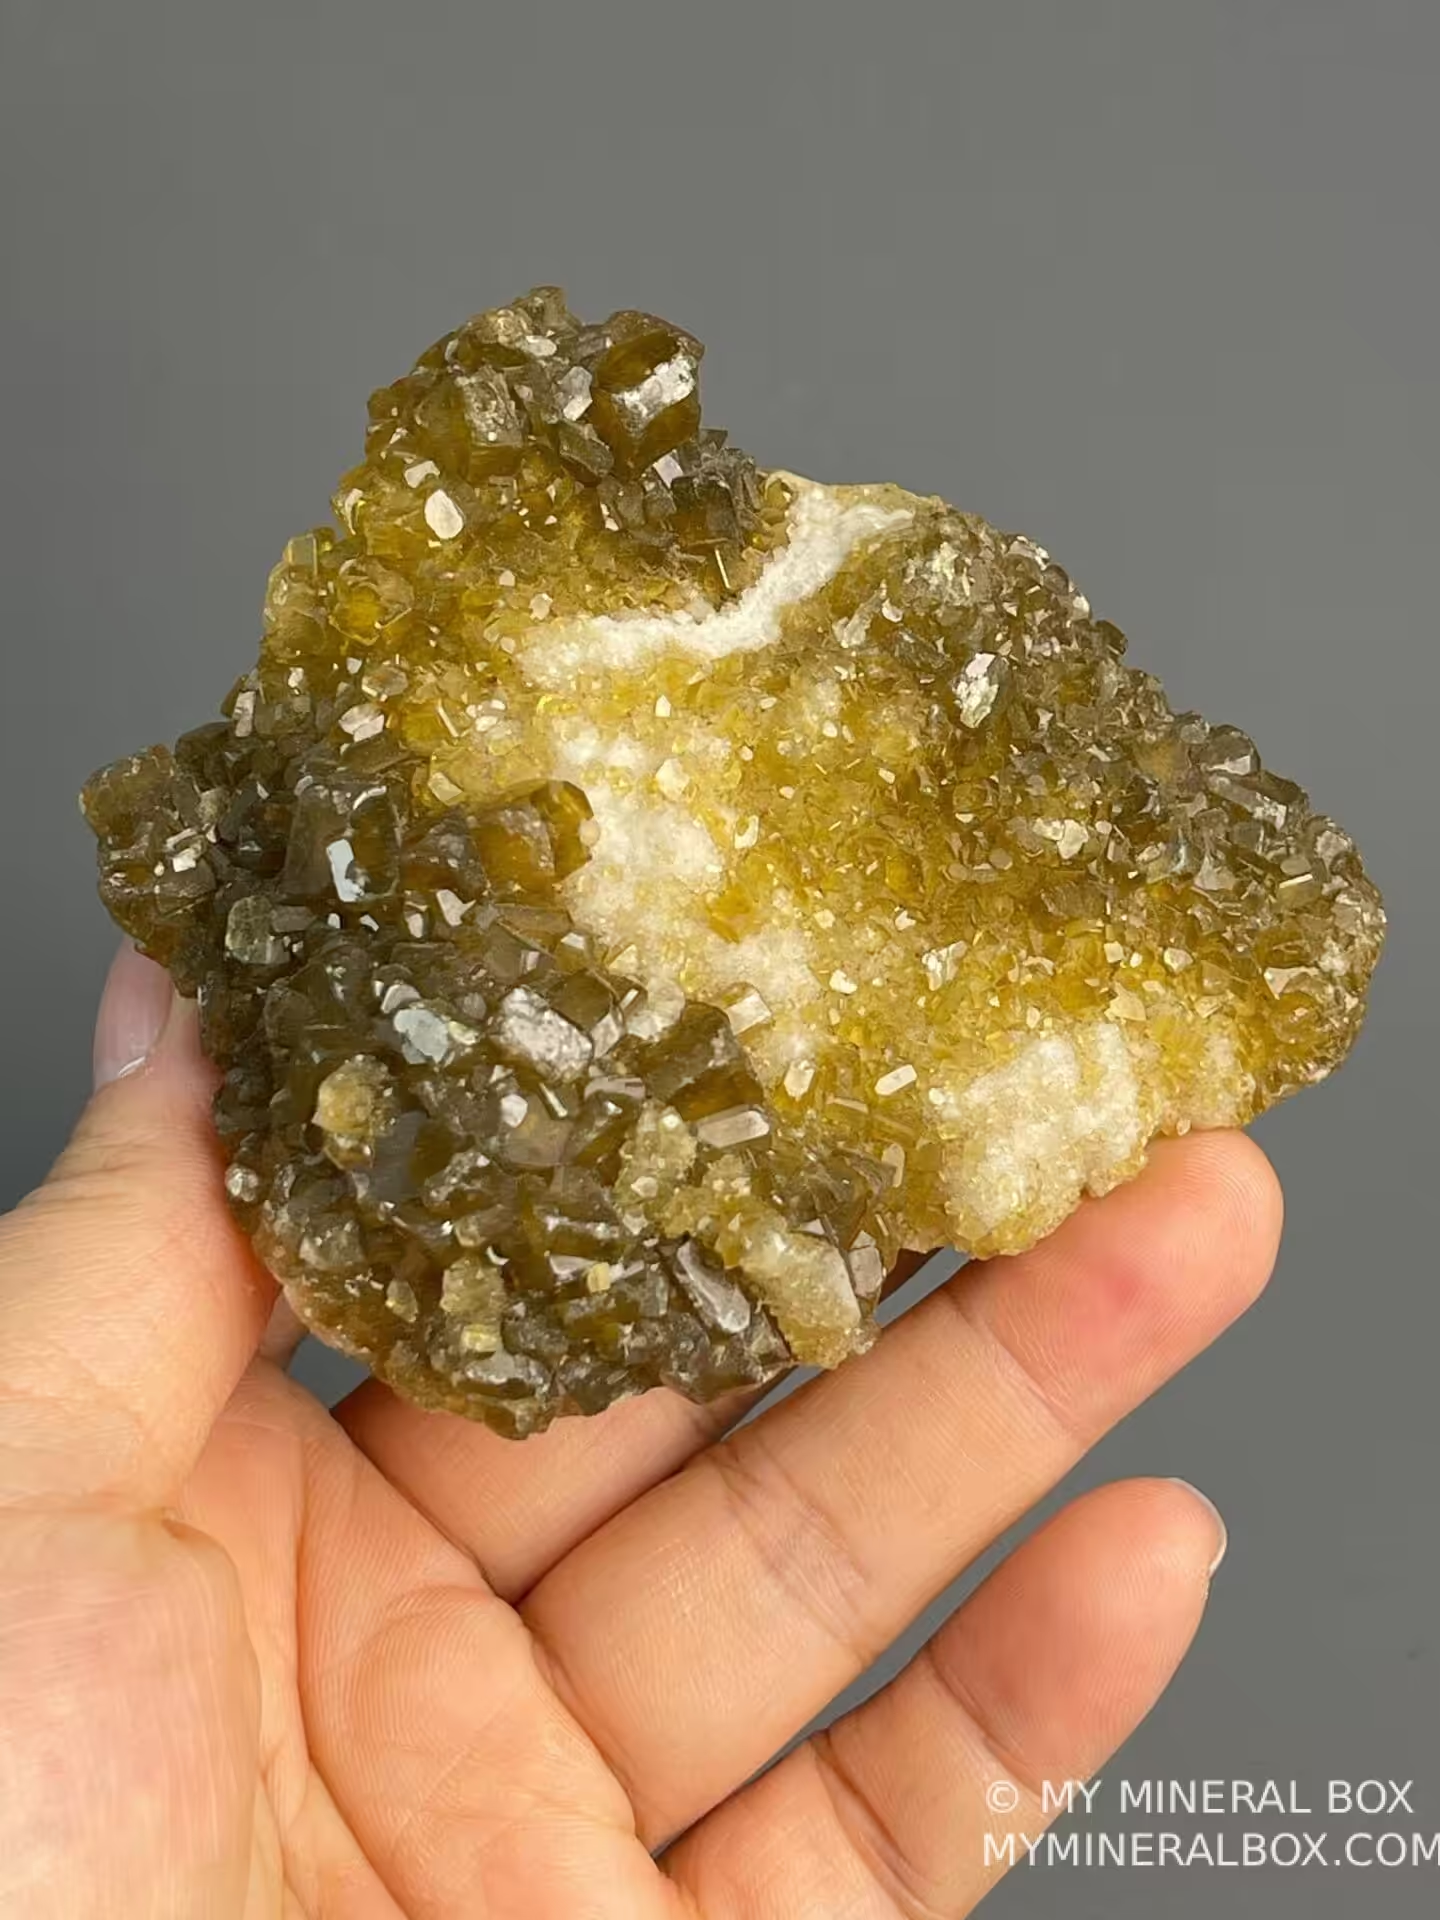
The minimum kit
A copy stand or sturdy tripod with a center column. A digital camera with a macro lens (anything from a smartphone with a macro accessory to a full-frame DSLR works; the technique matters more than the gear). Two soft-box lights or LED panels you can position freely. A graduated or solid-color background — black for fluorescent specimens, dark grey for crystalline whites, off-white for dark sulfides. Compressed air for dust.
Lighting
Place lights at roughly 45° on either side of the camera axis, diffused. Avoid harsh shadows from a single bare light. For dark or metallic specimens, increase contrast with a small fill card opposite each light. For transparent crystals (fluorite, quartz), add a backlight to bring out the color from inside. Each species has a sweet spot you'll find with experiment.
Composition and post-processing
Shoot from the angle that best shows the crystal terminations, color zoning, and habit — usually slightly above the horizontal. Use focus stacking (multiple shots at different focus distances merged in post) for sharp detail across the depth of a 3-D specimen. Light post-processing only: white balance, mild contrast, dust spotting. Heavy color or saturation editing destroys the specimen's authenticity.
Camera settings for sharp, deep-focus shots
Mineral macro work lives and dies on depth of field, so put the camera in manual or aperture-priority and stop down to a middle aperture (often f/8–f/11) where the lens is sharp but diffraction has not set in. Because small apertures need more light, keep ISO low to preserve detail and let the shutter stay open as long as the specimen sits still. A tripod or copy stand plus a remote release or self-timer removes the shake that ruins close-up sharpness. Set white balance manually to your lights — or shoot a grey card — so colors render true rather than warm or blue. Turn off the on-camera flash, which flattens crystals and blows out reflective faces; your two diffused side lights do the real work.
Focus stacking, step by step
A single macro frame rarely keeps a three-dimensional crystal sharp front to back, which is why focus stacking is the standard fix. Lock the specimen, camera, and lights so nothing moves, then take a series of frames shifting focus in small steps from the nearest point to the farthest — many cameras and apps can automate the increments. Keep exposure and white balance constant across every frame so the stack blends cleanly. Merge the series in dedicated stacking software, which picks the sharpest pixels from each frame to build one fully focused image. Start with five to ten frames on a simple piece and add more for deep or complex specimens; consistent lighting matters more than a huge frame count.
Honest color and documenting Chinese localities
Because your photos may double as catalog records or sale images, accuracy matters more than drama. Calibrate to a grey card, edit only lightly — white balance, gentle contrast, and dust spotting — and resist pushing saturation, which misrepresents a specimen and erodes a seller's credibility. Photograph the piece against a neutral background that flatters without distorting, and include a scale cue (a ruler in a reference frame, or stated dimensions) so viewers grasp the true size. For fluorescent species, shoot the daylight view and the UV view as a clearly labeled pair rather than passing one off as the other. Collectors of Chinese material can add real value by recording the locality in the caption — for example Yaogangxian fluorite or Daye calcite — so each image carries provenance, not just a pretty face.
Keep an unedited master file of every shot; it is your proof of the specimen's true appearance if a color question ever arises.
Frequently asked questions
What camera do I need to photograph mineral specimens?
Almost any modern camera works — a smartphone with a macro accessory, a mirrorless body, or a DSLR — because technique outweighs gear at the start. What helps most is a macro lens or macro mode, a tripod or copy stand, and two controllable diffused lights. Spend your effort on lighting and focus before upgrading the camera.
How do I get the whole crystal in focus?
Stop the lens down to a middle aperture for more depth of field, and for deep specimens use focus stacking — a series of frames shifted through the focus range and merged in software. Lock the camera and lights so nothing moves between frames. Together these keep a three-dimensional piece sharp front to back.
What background color is best for mineral photos?
Match the background to the specimen: black suits fluorescent and pale pieces, dark grey flatters crystalline whites, and off-white or light grey helps dark metallic sulfides separate from the frame. A plain, non-distracting background keeps attention on the crystals. Avoid busy or colored backdrops that throw off white balance.
How much editing is acceptable for specimen photos?
Keep it light and honest: set white balance, apply mild contrast, and spot out dust, but do not boost saturation or shift colors, because the image often serves as a record or sale photo. Calibrating to a grey card and keeping an unedited master file protects your credibility. Heavy editing misrepresents the specimen.